The Runner is getting bigger. (I really hope this will be able to withstand the weight and keep its balance!)
Robot Runner - OpenSCAD - current build 25-sept-2022
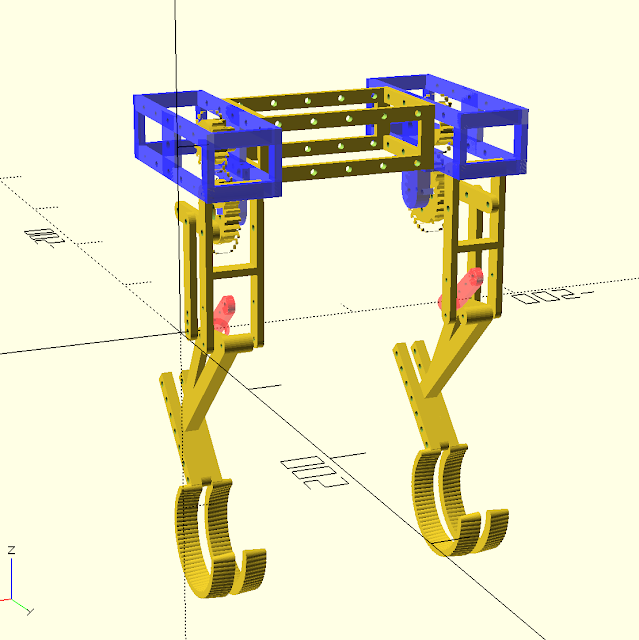
This past week's focus was on building out the frame that will support the running mechanism. The location of the crank gear has to be positioned at a specific distance from the fixed pivot point holding the leg. More important, these two components must be connected to some frame that the rest of the robot can connect too. AND! it must support the axel that the drive gears will be attached to. Therefore, it is a lot ton consider in a single piece.
My first design was close to working, but the placement of the drive gear axel to the crank gear was too far apart by 1-2mm. The part was worthless! As part of the re-design, I made the frame and the crank gear stantion (holder) to be seperate pieces. This provides some method of adjustment (with washers) in the cast that it needs to be adjusted.
Video:
Here is a video of the current build 'running' - yes it is running backwards!
I was able to reuse parts from a pervious robot (mojo4) as a stand in for the gearbox chassis. Had this part been 35mm high instead of 40mm, I could have just used that part.
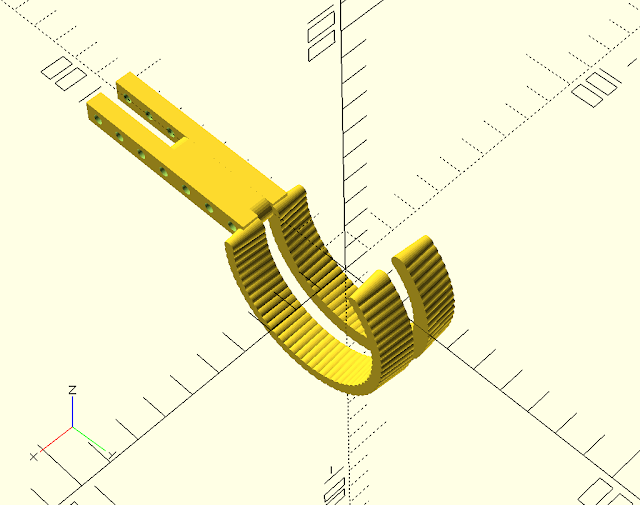
Now that this is somewhat working, I am returning to the leg structure. I am providing some width to the foot, lower leg, and compliant achilles link.
OpenSCAD - Running Robot Foot Design
and printing in the rain...
 |
| 3D Printing Robot Parts - in the rain |
No comments:
Post a Comment